
How To Cut Straight WOF Strips
I don’t know about you but I have cut plenty of wonky or bent strips in my time. Especially when I first started quilting. They often looked more like the Leaning Tower of Pisa. Being able to cut straight WOF (width of fabric) strips is essential in quilting unfortunately. Quilters use strips for binding, strip piecing and even when cutting yardage into squares.

Fabric is also expensive. So naturally we want to use every bit of it. We don’t want to have to cut around the middle of a bent strip. So I am going to give you my number 1 tip for making sure you never cut a wonky bent strip again. And the best part is…No special quilting tools are required.
Supplies Needed
Longer cutting ruler (6.5” x 24” is my go to size)
Rotary cutter with sharp blade
12” x 18” or larger cutting mat
Optional: 3 to 5 lb. hand weight

So lets get this strip party started!
1. Grab your yardage and lay it out on your cutting mat with the manufacturer’s fold closest to you. It doesn’t have to line up with the lines on your cutting mat. Just place it on there and smooth it out. If it’s very wrinkled you may need to iron it to get it to lay flat.
2. Place your ruler on top of the fabric so one of the lines going width ways lines up with the manufacturer's fold. The length of the ruler should also extend beyond both the folded edge and the selvage edges. The goal here is to get a straight edge that has a 90 degree angle with the fold.
Tip: If you are right handed like me the edge of the fabric that we are cleaning up should be to the right side of the edge of the ruler. If you are left handed it will be to the left.

3. Cut along this edge with your rotary cutter to get a clean edge being careful not to move or shift the ruler.
Tip: Placing a 3 or 5 lb. weight on the ruler can help if accidental shifting is a problem

4. Carefully flip your fabric 180 degrees so the edge you just cut is now to the left hand side, if you are right handed (it will be to your right hand side if you are left handed) The fold needs to still be closest to you. When doing this be careful to keep the fabric edges that you just cut together and aligned.
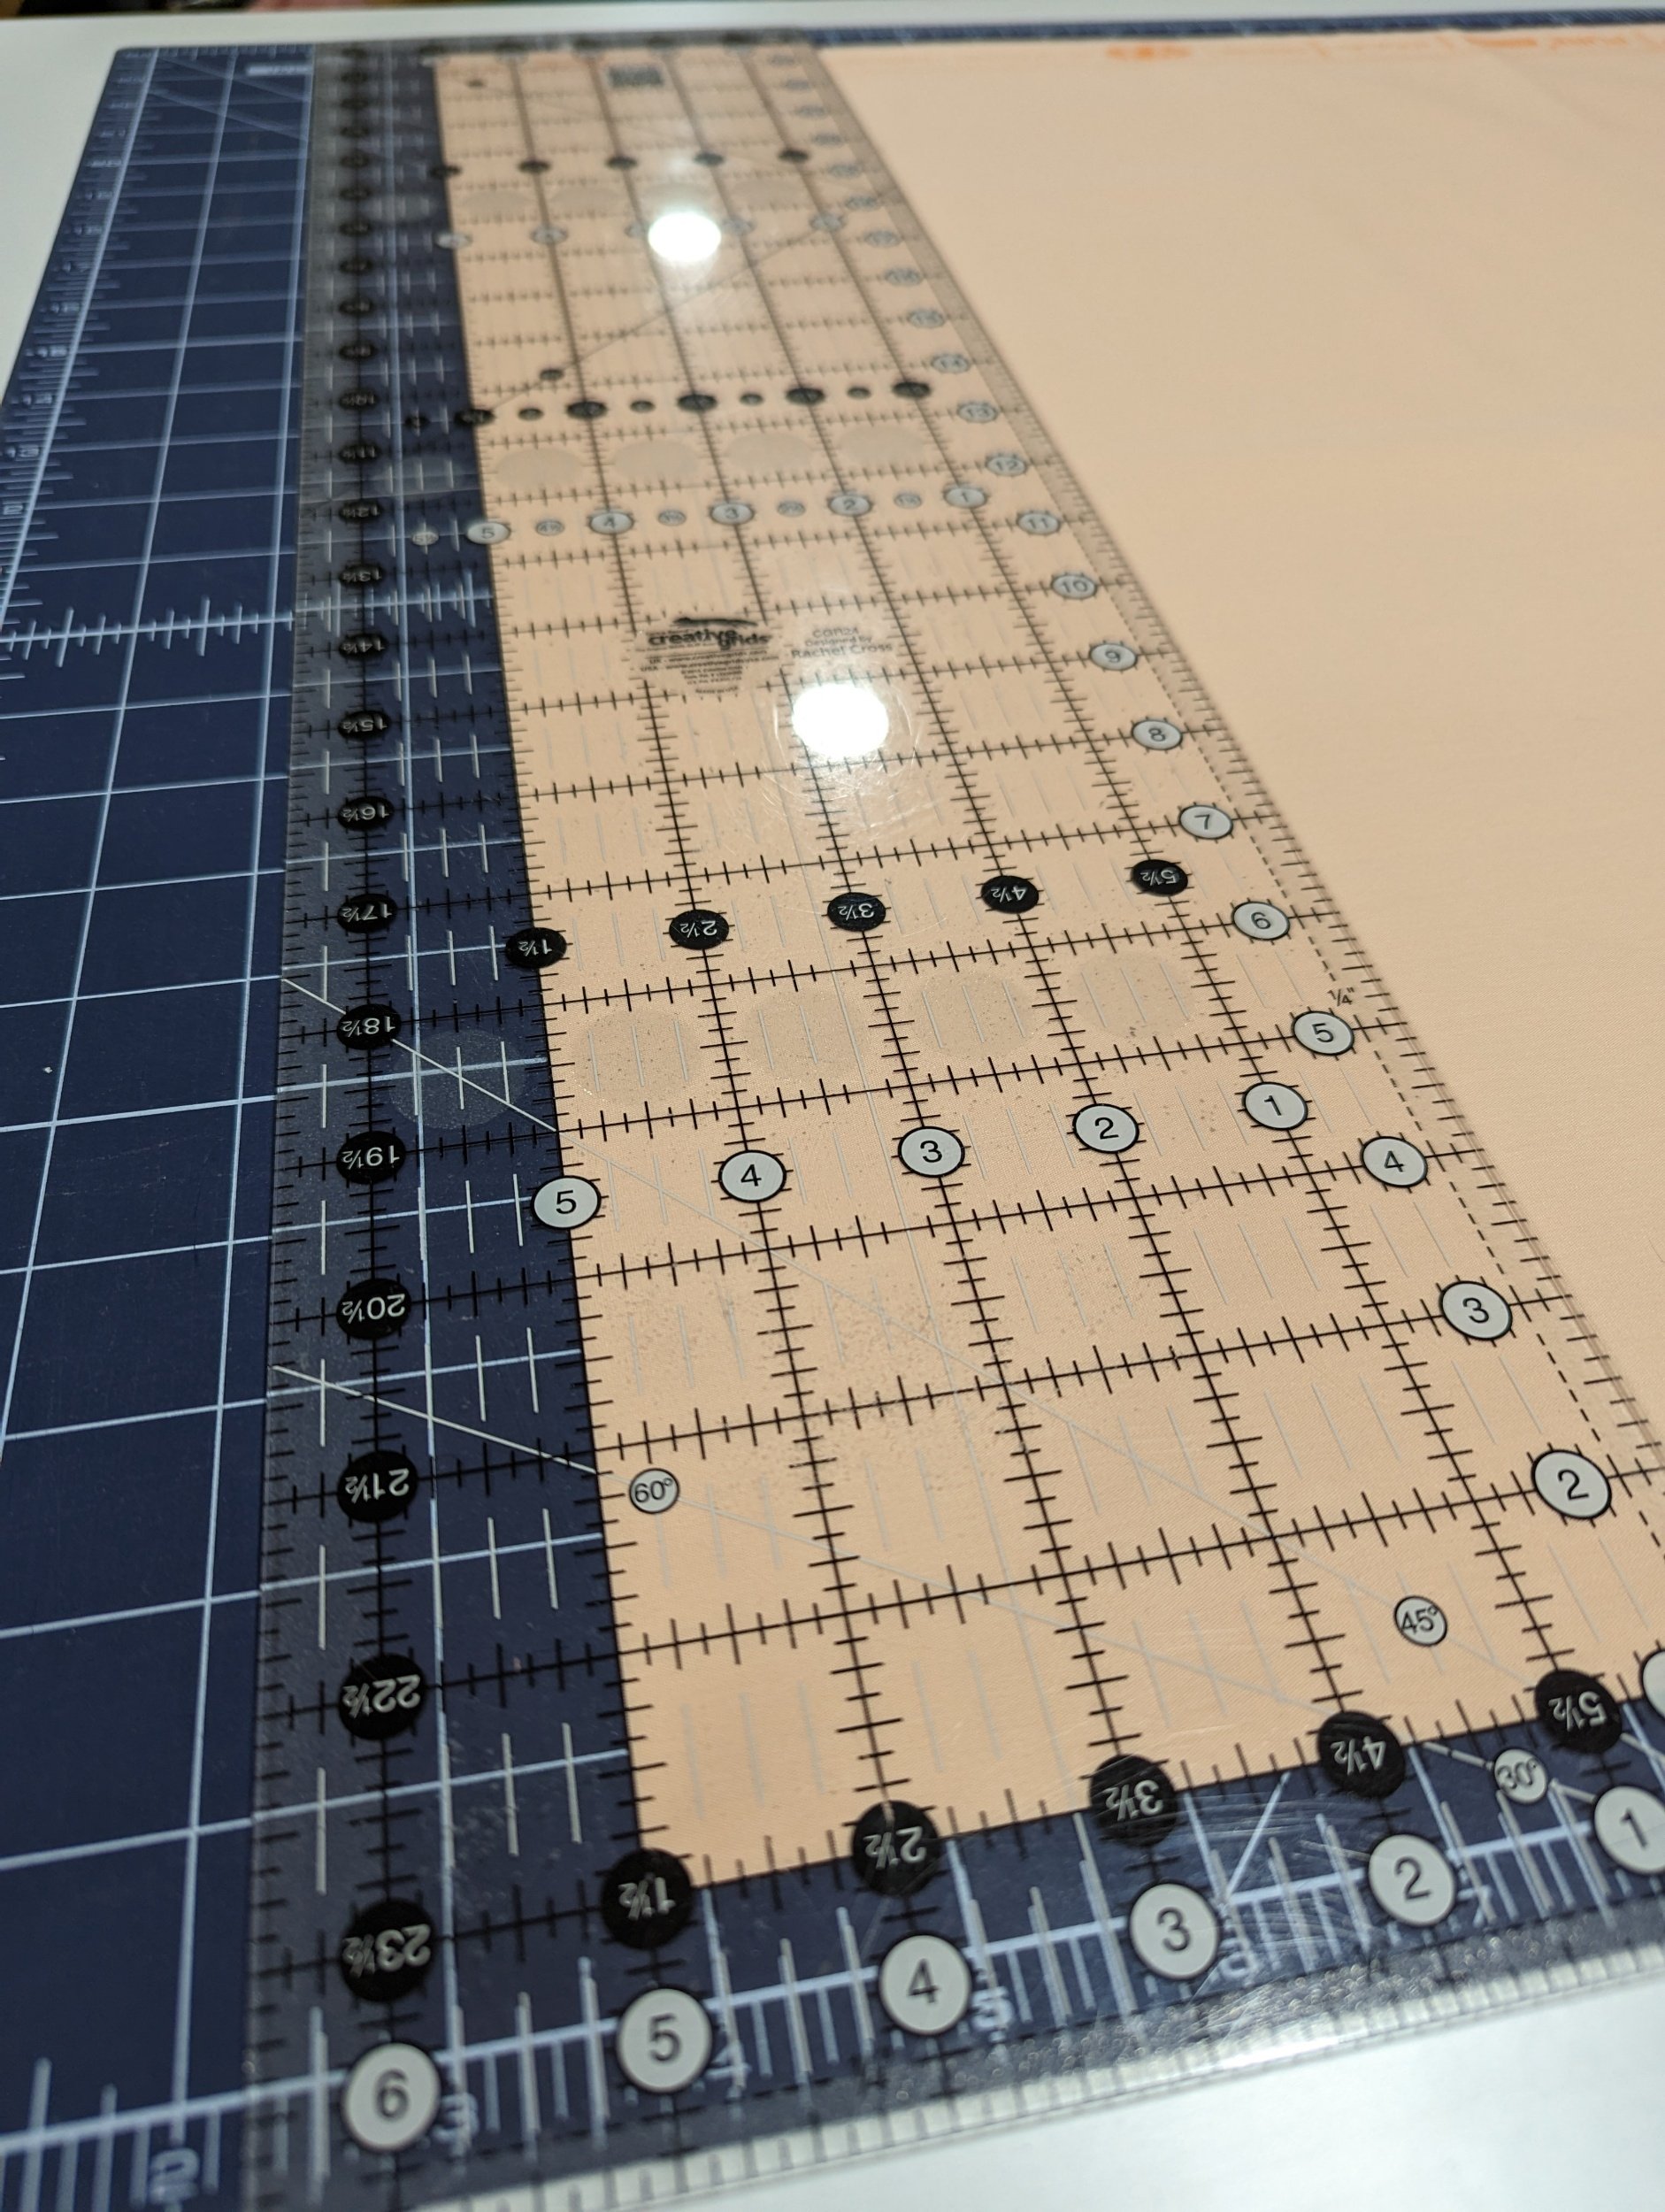
5. Here is the important part… the fabric you are cutting and keeping for your project should be under the the cutting ruler. The manufacturer’s fold will be aligned with one horizontal line on the ruler. The just cleaned up edge should be under the appropriate vertical line on the cutting ruler (this depends on the width of the strip you are cutting). The edge of the fabric should be under the lines on the cutting ruler but not extending past. See picture for clarity.
6. Holding your ruler steady and/or using a weight to help, make your cut.
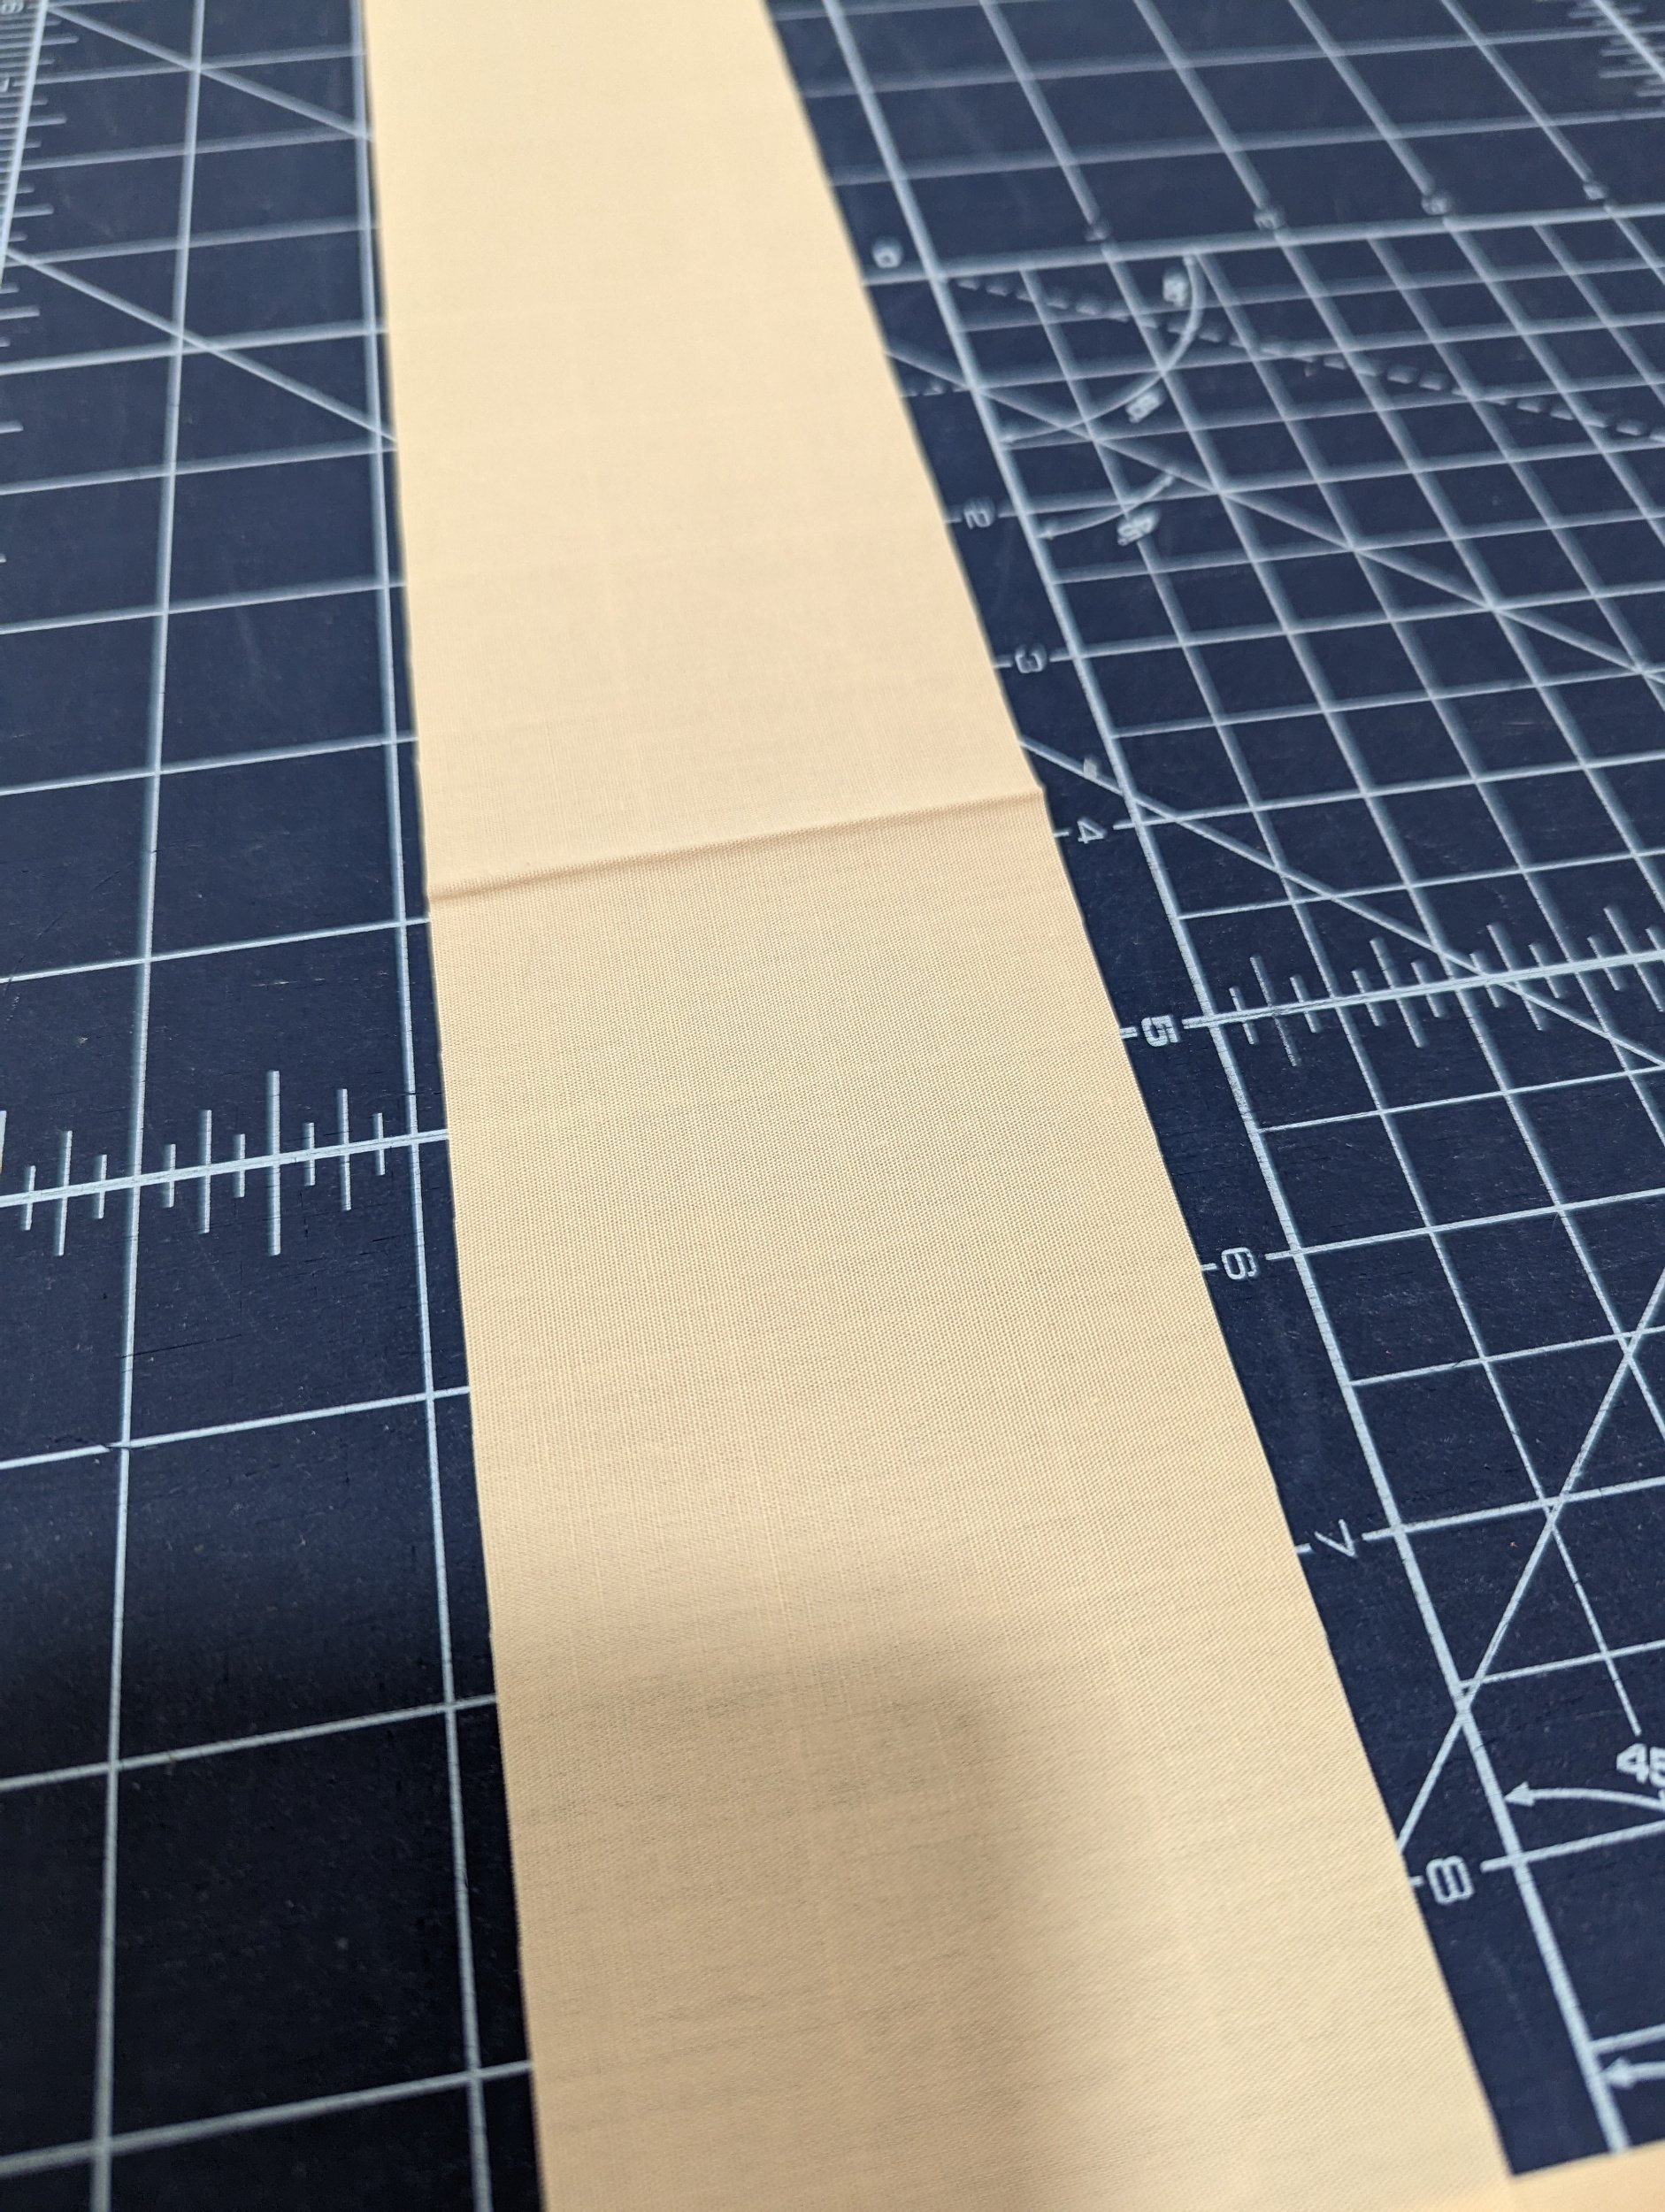
7. Repeat until you have the needed amount of strips, being sure to align your ruler with the manufacturer’s fold and the WOF edge of fabric each time you need to make a cut. You may need to re straighten/clean up the WOF edge, from time to time, since the manufacturer’s fold isn’t always straight.
I hope you find this beginner tutorial helpful! When I started keeping the manufacturer's fold closest to me while cutting and started using both horizontal and vertical lines aligned with the fold and straight WOF edge respectively, I saw an immediate result in the quality of my strips. Thank you and as always please keep in mind what works for me but may not work best for you! I just hope it has given you a new piece of quilting wisdom! Happy cutting and sewing!